Seattle daylight basement conversion from start to finish
On any given morning in Madison Valley or Magnolia, where the streets tip down toward the water and the sidewalks lift above the lawns, you'll find them: those half-buried windows at sidewalk level, half-lit, half-claimed by the slope above.
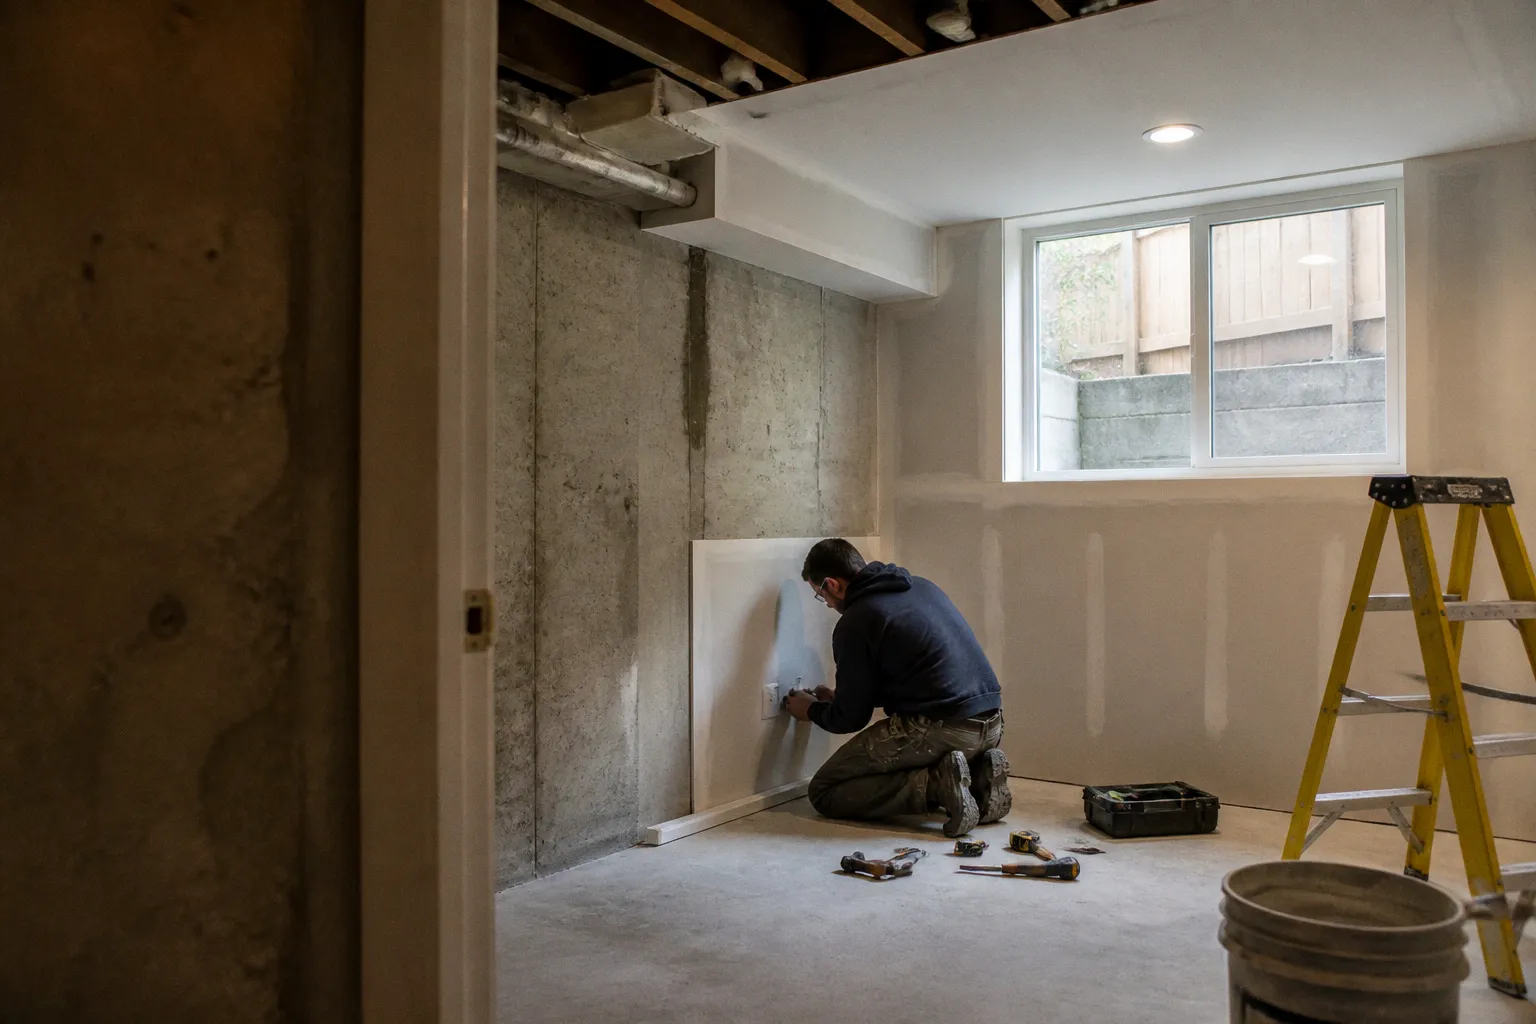
Seattle's daylight basements are a direct consequence of our topography — the same hills that give us views of the Sound and Lake Washington also cut our houses in half, leaving a below-grade room that nonetheless catches real sun. That geometry is why a daylight basement conversion is one of the most practical property transformations available to a Seattle homeowner right now. You're not adding a story; you're claiming the floor the hill already gave you.
Done well, that floor becomes a legal accessory dwelling unit, a rental that helps carry the mortgage in a market where a one-bedroom rents faster than you can list it. Done carelessly, it becomes an unpermitted bedroom that scares off buyers at inspection. The difference lives in the permitting, the ceiling height, the egress windows, the foundation work, and the budget — which is exactly what we're going to walk through, the way we'd walk it together from curb to foundation wall.
Navigating SDCI Permitting and Regulatory Hurdles
The first door you knock on belongs to the Seattle Department of Construction and Inspections. SDCI is the gatekeeper for every legal basement conversion in the city, and the agency's appetite for paperwork scales directly with how invasive your project is. A fresh coat of paint and new carpet doesn't need them. Anything that touches structure, plumbing, electrical, or the building envelope does.
Here's the rule of thumb: SDCI exempts minor repairs or alterations from permit requirements if they cost $6,000 or less in any six-month period, provided the work doesn't involve structural changes, load-bearing walls, or modifications to the building envelope. Framing a single non-load-bearing partition wall on its own — without touching plumbing, electrical, or the building envelope — can sometimes fall within that exemption. But the moment you add a bathroom, cut a new egress window through the foundation wall, or move anything structural, you've crossed into permit territory. In practice, most basement conversions bundle enough of those triggers that the minor-alteration exemption doesn't apply. Plenty of homeowners learn this the hard way when they try to sell and the buyer's inspector opens a wall to find unpermitted wiring.
For the projects most readers here are considering, two permit pathways dominate. A simple, non-structural basement finish — paint, drywall, flooring, trim, a cosmetic bathroom refresh on existing plumbing — can often qualify for a Subject-to-Field-Inspection (STFI) permit, which bypasses full plan reviews and can frequently be issued the same day. A structural or layout-changing project — lowering the slab, underpinning the foundation, adding a legal egress window where none exists, or creating a separate ADU entry — requires a full Plan Review with drawings, often a structural engineer's stamp, and in most cases a geotechnical report.
Think of STFI as the city's way of saying "we trust your contractor on a small job." The moment you cut concrete or move a bearing wall, SDCI wants to see it on paper.
If you're converting toward an ADU, expect a Pre-Application Site Visit or zoning review before the building permit is even lodged. That step is where SDCI confirms your lot can host a second unit, where the unit sits within the building envelope rules for your zone, and whether your proposed off-street parking still satisfies code. Skipping this step is the single most common reason ADU projects get bounced back into review.
Meeting Seattle Residential Code for Ceiling Height and Egress
The two numbers that define whether your basement can legally sleep anyone are 7 (feet) and 5.7 (square feet). The first is the ceiling height; the second is the egress window opening. Both live in the Seattle Residential Code, and both have carve-outs that depend on when your house was built.
For new habitable space, Seattle Residential Code R305.1 calls for a minimum ceiling height of 7 feet. That's measured to the finished floor, and it includes beams, ducts, and soffits. If you're building out a daylight basement from scratch or doing a from-the-studs-up renovation, 7 feet is your floor.
But many Seattle homes — particularly the craftsman and Tudor stock in Wedgwood, View Ridge, Madison Park, and the older parts of West Seattle — were built long before today's code. For alterations to existing basements in buildings constructed before October 17, 1979, Washington State Residential Code R305.2.1 and Seattle DPD Director's Rule 23-2008 allow a reduced minimum ceiling height of 6 feet 4 inches, beams and ducts included. That's the legal foothold that makes finishing out a 1950s ranch basement realistic. If your house was built after that date, that reduced ceiling isn't available to you without a variance — and variances for ceiling height are rare.
Then comes egress. Under Seattle Residential Code R310, any basement room used for sleeping must have an egress window with a minimum opening of 5.7 square feet — the unobstructed clear opening, not the rough frame size — and the sill can't sit higher than 44 inches above the finished floor. For windows that open below grade, the minimum drops to 5.0 square feet because the code recognizes that window wells constrict the geometry.
The way this plays out on a real Seattle lot: most older daylight basements have small hopper windows set high in the foundation wall. They let light in, but they don't qualify as legal egress. To convert to a legal bedroom or ADU, you'll either enlarge the existing window opening or cut a new one — typically in the front or rear foundation wall — and pair it with a code-sized egress window well on the outside. That well needs proper drainage, typically a gravel layer and a drain tied into the footing drain or a drywell, so it doesn't become a bathtub every November.
| Code Requirement | Threshold | Practical Reality in Seattle |
|---|---|---|
| Ceiling height — new construction | 7'-0" | Standard for additions and new ADUs |
| Ceiling height — alteration pre-1979 home | 6'-4" | Unlocks finishing most mid-century basements |
| Egress window opening (above grade) | 5.7 sq ft | Casement or sliding windows sized to clear opening |
| Egress window opening (below grade) | 5.0 sq ft | Requires a code-sized window well with drainage |
| Egress sill height | ≤ 44" | Often requires lowering the existing sill or reframing |
Structural Realities: Underpinning and Foundation Considerations
Once you've accepted that you're going to meet egress, ceiling, and permit code, you'll bump into a third constraint that's specific to older Seattle foundations: the slab itself often sits too low. Walk into a daylight basement in Wedgwood or Magnolia and you can usually see the seam where the original concrete floor meets the foundation wall — that seam is often only 6'-2" or 6'-4" below the bottom of the joists above. Even with the pre-1979 ceiling allowance, you're one or two inches short of code for any new framing, mechanical runs, or finished flooring.
That's where underpinning enters the conversation. Underpinning is the structural process of extending the foundation deeper — typically in short sections called pins or pits — so that the existing footing can be lowered, the slab excavated, and the new floor dropped enough to gain the headroom you need. It's a permitted structural project in Seattle, and it requires a structural engineer's stamped drawings and, in most cases, a geotechnical report characterizing the soil and water table on your specific lot. The geotech report is what tells your engineer whether you can underpin in 4-foot sections or whether you need continuous shoring, and whether a sump pump and perimeter drainage are required to keep the new lower slab dry through our wet seasons.
Expect the city to inspect underpinning at each pin or section before it's backfilled. That's not bureaucratic fussiness — underpinning removes the soil that was holding up your foundation wall, and the inspector is verifying that the new concrete bears against undisturbed earth and that the temporary support during the pour is adequate. Skip a pin inspection at your peril; the city will not cover up work that hasn't been signed off.
Underpinning is the project where Seattle's hills stop being charming and start being engineering. The slope above your house is loading the wall you're trying to deepen.
You can sometimes avoid underpinning by reframing around existing constraints — dropping the soffit, routing mechanicals through a bulkhead, leaving the ceiling uneven room-to-room — but those workarounds trade long-term livability for a smaller scope today, and they tend to come back as buyer objections when you eventually sell. If you're already pulling a permit for a legal ADU, do the underpinning properly while the walls are open and the engineer is on retainer. The structural work roughly doubles the cost compared to a non-structural finish, but it's the difference between a conversion that appreciates and one that appraises as "unpermitted lower level."
Budgeting for Basement Renovations and ADU Conversions
The honest answer to "what does this cost" is that Seattle basement work runs on a spectrum as wide as the neighborhoods we live in. The reason is that "basement remodel" can mean anything from hanging drywall over finished concrete to underpinning the foundation, adding an egress window, building a kitchen, and pulling a separate utility meter for a rental unit. Different projects, different cost realities.
A basic finish of an existing daylight basement in Seattle — paint, flooring, trim, a refreshed bathroom, new lighting, no structural or envelope changes — typically starts around $30,000. Once you cross into layout changes, new egress, a full bathroom addition, and finishes that match the rest of the house, you push toward the upper end of the basic finish band, generally topping out around $55,000 for non-structural work. Once you start underpinning, adding a separate entrance, building a kitchen, and configuring the space as a legal ADU with its own heating, electrical panel capacity, and code-compliant life-safety systems, the number jumps to the $150,000 to $350,000 range that most contractors quote for a basement-to-rental-suite conversion.
Per square foot, basement remodels that involve structural work typically run $250 to $600 per square foot, depending on the complexity of the underpinning, the finishes you select, and whether you're adding plumbing fixtures that need to be tied into existing stacks. That's higher than a same-finish main-floor remodel because the access is constrained, the ceiling work is more labor-intensive, and the inspection overhead is real.
A few budget realities locals tend to learn on the job:
- Permit fees are calculated by SDCI based on project value and specific review types. Don't budget them as a flat number; ask your permit expediter for an estimate against your specific scope.
- Egress window wells with proper drainage are not an obvious line item, but they're a real one — the well itself, the drain, the gravel, and the tie-in all add up, and they aren't optional.
- HVAC extension into a newly conditioned basement is its own project. If your furnace is at the end of its life, this is the moment to size it for the additional square footage.
- Waterproofing and moisture control — paint-on sealants, dimple mats, interior French drains, sump pumps — are easy to underbudget. If your lot has a high water table or sits in a known seepage zone, plan for the higher end.
- Carry a meaningful contingency. Seattle basement remodels consistently uncover hidden conditions: old galvanized drain lines, undocumented prior finishes, and sometimes a footing that isn't where the original drawings said it was.
Managing the Construction Timeline from Permit to Completion
Once permits are in hand, plan on eight to sixteen weeks of active construction for most basement-to-living-space or basement-to-ADU conversions. That's the construction window, not the project window. From the day you decide to convert to the day a tenant (or your in-laws) moves in, the total process for an attached ADU or basement conversion runs about four to six months in Seattle, with permitting taking the larger share early and inspections dictating the pace throughout.
The sequence in practice looks like this. After permits are issued, the crew begins with demolition and any structural work — underpinning in pins, slab lowering, footing drain extensions. Framing follows, then rough-in for plumbing, electrical, and HVAC. Each of those trades gets inspected by SDCI before walls are closed. Insulation and drywall come next, then flooring, cabinetry, and finish work. The final sign-off includes the egress window inspection, the life-safety systems (smoke and CO detectors, egress lighting), and a final building inspection that converts the permit to "completed" in the city's records.
Two timeline details that matter on real Seattle blocks. First, the inspection schedule is the project schedule. If your contractor books trades before rough inspections are signed off, the city can require you to open walls — a costly and avoidable mistake. Second, weather matters for underpinning and exterior work. Most underpinning gets scheduled for the drier months because the open pits and exposed soil don't love sustained rain. If your project is structural, plan to start the conversation with your contractor and your engineer in late winter so you're ready to mobilize when the ground dries out.
A practical sequence for homeowners, the way we'd actually walk it on a Saturday open-house tour:
1. Confirm scope: cosmetic refresh, habitable finish, or full ADU conversion. This single decision drives every other line.
2. Pull the property file from SDCI to learn the year built and any prior permits on the house — that determines whether the 6'-4" ceiling exception applies to you.
3. Schedule a Pre-Application Site Visit if you're heading toward an ADU. Confirm zoning, parking, and unit count before drawing plans.
4. Engage a structural engineer early if underpinning, slab lowering, or new egress is in play. The geotechnical report usually takes three to four weeks to schedule and complete.
5. Submit for full Plan Review once drawings are stamped. Plan for the review cycle to take four to eight weeks depending on city workload and resubmittals.
6. Post the permit card on site as required before work begins — this is the visible proof to inspectors and neighbors alike that the project is legal.
7. Sequence the trades: demo → structural → framing → MEP rough → inspection → insulation → drywall → finish → final inspection.
8. Carry a real contingency and document any hidden conditions with photos before they're covered.
9. Pull the final inspection sign-off when the work is complete. This is the document that protects your conversion's value at resale.
The reason we keep coming back to daylight basements in this market is that Seattle's hills aren't going anywhere, and the floor your house already has — that half-buried, half-sunny room below the main level — is the cheapest square footage in the building. Treated as an afterthought, it drags down your appraisal. Treated as a permitted, code-compliant living space or a legal ADU, it's the most versatile asset on your lot: a guest suite for returning grown kids, a quiet home office with its own door, a rental that helps carry a mortgage in a city where property taxes and insurance have both stepped up.
The transformation is genuinely a transformation — the same room, the same footprint, but a fundamentally different role in the life of the house. Done with respect for the code, the slope, and the water table, it's also one of the few renovations in this market where you can expect the numbers to work in your favor over the long arc. We see it in the comps, we see it in the listings that hold their value when the market cools, and we see it in the way buyers respond to a daylight basement that reads as finished square footage on the disclosure form rather than as a question mark in the basement.