Craftsman kitchen remodel: A step-by-step Seattle project
The day you decide to remodel a Craftsman kitchen in Seattle, the first lesson arrives before any contractor sets foot on your porch.
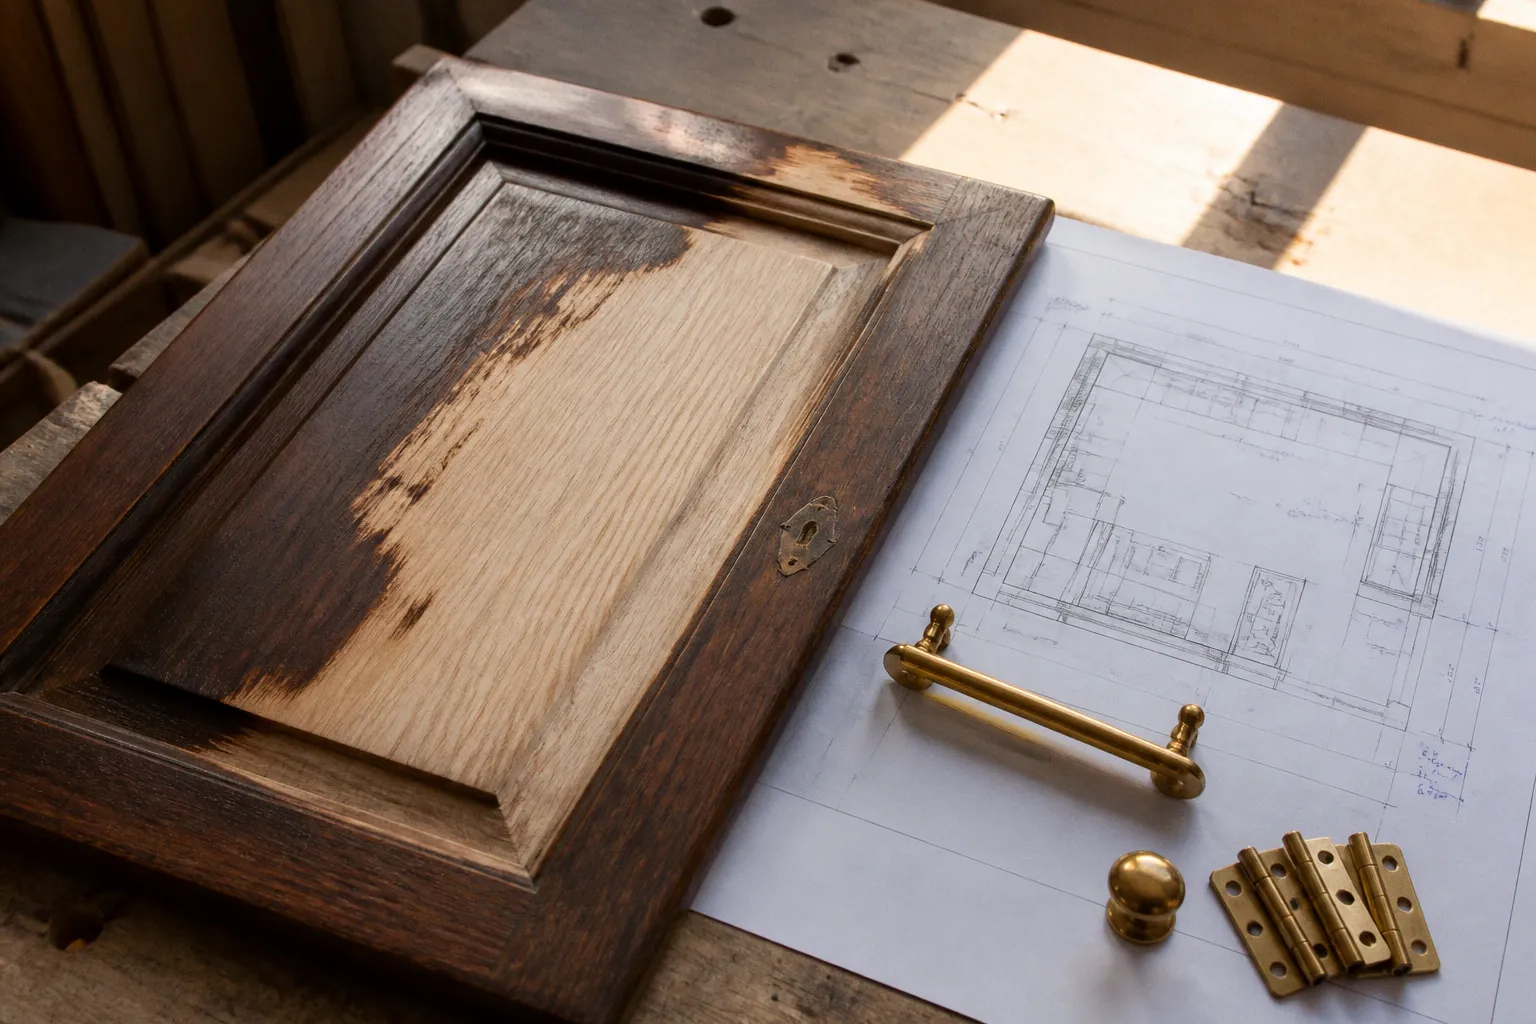
You stand in the galley with your morning coffee, look at the wall separating the kitchen from the dining room, and ask the question that quietly reshapes the entire project: is that wall holding up the second floor? In a 1908 Queen Anne foursquare, a 1922 Wallingford bungalow, or a 1915 Ballard craftsman, that wall is almost always doing something more than enclosing the room. It is load-bearing, and ignoring that fact can buckle a budget and a roofline in equal measure.
That's why a step-by-step Craftsman remodel in Seattle isn't really about cabinets and tile — it's about navigating the topography of an old house the way you'd navigate a steep Seattle block: respect the grade, plan your route, and don't pretend the slope isn't there. We walk through these homes the way we walk through neighborhoods, reading the bones, noticing the canopy of fir trim, and finding the path that honors the original architecture while making the kitchen work for the way we actually live now.
Inventory the soul of the house before you touch a wall
A Craftsman kitchen that loses its fir millwork, picture rails, and built-ins during demo has been gutted twice — once of plaster, and once of the thing that made the room worth saving.
The first stage of any responsible Craftsman kitchen remodel is not demolition — it's documentation. Walk the room slowly, the way you'd walk a new neighborhood on a Sunday morning, looking up at the ceilings, running your hand along the door casings, opening every cabinet and built-in.
Craftsman homes from the late 1890s through the late 1920s carry a vocabulary of millwork that defines the community fabric of the room: fir baseboards and window trim with deep, flat profiles, boxed beams that frame the ceiling, picture rails running along the upper walls, built-in buffets and window seats tucked into corners. Before a single cabinet comes out, your contractor should photograph every original detail, tag anything that's being removed for potential reuse, and protect in place anything that's staying. The picture rail above your eventual backsplash is often original. The fir window stool under the kitchen window is probably worth saving. The narrow glass-front cabinet in the dining room is frequently a signature feature that buyers and appraisers both notice.
A good rule we share with clients: if a piece of trim was milled from old-growth fir, it is irreplaceable at any reasonable budget. Modern reproduction is close, but close isn't the same when the trim runs continuously around a room and meets at a coped joint — the seams telegraph the difference. So your inventory walk decides what gets wrapped in cardboard and what gets catalogued for a craftsman to replicate later.
Document with intent
We recommend a single shared album with dated photos and a numbered floor plan: cabinet face frames, door hinges (often brass or bronze in original homes), window pulls, the apron of the sink, the profile of the range hood surround if there's a built-in. Every detail that will eventually need to be either matched or replaced. The cost of this inventory is an afternoon. The cost of skipping it is discovering in month eight that nobody knows what kind of fir moulding runs along the dining-room side of the wall you removed.
Reading the permit map before you read the blueprint
Seattle's permit process is its own transit corridor — slow on the surface, predictable if you know the routes, and impossible to shortcut by pretending it isn't there. Many homeowners start a remodel assuming a single building permit will cover everything. In a Craftsman kitchen, that is almost never true.
A comprehensive kitchen remodel typically pulls four separate permits: a General Construction Permit for any structural or layout changes, a Plumbing and Gas Permit for relocating the sink, gas range, or adding a gas line, an Electrical Permit for new circuits, panel work, or appliance rough-ins, and a Mechanical Permit for the range hood exhaust that, in Seattle's damp climate, needs to vent properly to the exterior. Each one is reviewed separately, and each one can add weeks to the calendar.
There is a narrow exemption worth knowing: the City of Seattle exempts minor repairs or alterations from building permit requirements if they cost $6,000 or less in fair market value of labor and parts, occur over six months, and do not affect load-bearing supports, the building envelope, or egress. That means cosmetic refreshes — new counters in the same footprint, a faucet swap, refacing cabinets — can often proceed without a permit. But the moment you move a wall, relocate plumbing, or upgrade electrical service, you step outside the exemption and into the full review process.
Plan on two to four months for permitting alone, even with a complete and well-prepared application. Incomplete submissions cycle back to the end of the queue. We tell clients to treat permit review like Seattle traffic on the I-5 at 4 p.m.: leave the buffer, or you'll be late for everything downstream.
Sequence matters
The order in which permits are pulled affects your construction schedule more than most homeowners realize. Pull the General Construction Permit first if there's structural work. The Plumbing and Gas permit often moves faster because the reviews are more standardized, but it's useless if the GC permit isn't approved yet because the layout isn't finalized. Electrical usually comes last among the rough-ins. Sequencing them in the wrong order can idle a crew for weeks while paperwork catches up — a hidden cost nobody prices into a quote.
What's holding up the second floor
In a 1910s Craftsman, every wall in the kitchen is load-bearing until an engineer proves otherwise — and "otherwise" is rarer than the homeowner hopes.
If there is a single piece of advice that will protect both your Craftsman and your budget, it is this: assume every wall in the original kitchen is load-bearing until an engineer proves otherwise. We have walked into kitchens where the homeowner wanted to remove "just this one wall" between the kitchen and the dining room, only to learn that the wall carried a second-floor joist, a portion of the roof load, and a chimney chase that ran up three stories.
Opening up the floor plan in an older Craftsman is almost always a structural project, not a cosmetic one. The path from a closed galley to an open kitchen-and-dining great room runs through a structural engineer's calculations, a steel or laminated beam sized to transfer the loads above, and either a flush beam hidden in the ceiling or a new post and beam that's exposed as a deliberate design feature. Both approaches are valid; both add line items to the budget.
Seismic readiness comes with the territory
Older Seattle homes were not built to current seismic codes, and a kitchen remodel that opens walls is a natural moment to address that. The structure-first approach favored for responsible Craftsman remodels sequences the invisible work first: foundation anchor bolts that tie the framing to the foundation, plywood shear panels at cripple walls in the crawlspace, corner hold-downs that resist racking during an earthquake, and a moisture management plan that often includes a rainscreen system behind the siding if the exterior is being touched.
None of this is glamorous. None of it shows up in the kitchen photo at the end of the project. But the homes that survive the next big Pacific Northwest earthquake without sliding off their foundations are the ones where a contractor quietly added anchor bolts and hold-downs while the wall was open. We treat seismic work the way we treat insulation in a Pacific Northwest remodel: it's invisible, it's unsexy, and it's the single biggest determinant of how the house performs over the next fifty years.
What your remodel budget actually buys in Seattle
Seattle kitchen remodel costs run in a wide range, and understanding what drives the spread matters more than chasing a single number. The working range most local contractors quote is $150 to $300 per square foot, with the spread driven by structural complexity, material choices, and the depth of finish work.
A mid-range project — refaced or semi-custom cabinets, quartz or mid-grade stone counters, a tile backsplash, standard appliances, modest layout changes — typically lands around $88,000 in current Seattle pricing. The high-end project — custom cabinetry built by a local shop, premium stone or specialty counters, a structural rework to open the floor plan, top-tier appliances, designer tilework — generally starts around $225,000 and can push past $250,000 once you add the line items that always seem to appear: a structural beam, an electrical panel upgrade, a hidden plumbing problem behind the original plaster.
| Cost Driver | Mid-Range Reality | High-End Reality |
|---|---|---|
| Cabinetry | Stock or semi-custom, factory finishes | Local shop, custom profiles, matched to original millwork |
| Countertops | Quartz or mid-grade granite | Premium stone, integrated or waterfall edges |
| Layout | Mostly original footprint | Wall removal, structural beam, open floor plan |
| Appliances | Reliable mid-tier brands | Professional-grade, often panel-ready |
| Structural work | Minimal, if any | Beam, posts, possible seismic upgrades |
| Typical total | Around $88,000 | $225,000 and up |
The line items that surprise people are rarely the photogenic ones. Cabinetry and stone get the attention in the magazine photos, but the budget breakers we see most often are structural engineering and the permit-driven scope creep that comes with it: an electrical panel that's undersized for a modern kitchen, a gas line that needs to be moved rather than extended, a subfloor that's too far gone to tile over without reframing. Build a contingency of fifteen to twenty percent into any Craftsman remodel, and you'll sleep better when the demo reveals the original 1920s plumbing that's been quietly leaking behind the dishwasher for a decade.
Where we tell clients not to save
If there's a place in a Craftsman kitchen to spend, it's on the things that touch the original architecture: cabinet profiles that match the existing fir trim, a backsplash tile that respects the era rather than fighting it, a range hood surround that integrates with the picture rail or the boxed beam instead of stapling a stainless box to the ceiling. Those choices are what separate a remodel that respects a Craftsman from a remodel that erases one. Conversely, save on things that are easily replaced later — a builder-grade faucet, a stock light fixture over the sink, hardware that can be swapped in an afternoon.
The honest timeline: from sketch to first meal
A Seattle Craftsman kitchen remodel almost always takes longer than the homeowner expects, and the gap between expectation and reality is almost entirely a permitting and structural problem, not a construction problem. Active construction — the phase where walls are open and the house is loud — typically runs six to twelve weeks. But the full arc from first sketch to first meal cooked in the new space usually stretches past six months, with two to four months of that consumed by permit review alone.
The realistic sequence looks like this:
1. Design and engineering (4–8 weeks) — measure the home, finalize the layout, engage a structural engineer if walls are being moved, specify cabinetry and finishes far enough that the engineer can size the beams accurately.
2. Permit submission and review (8–16 weeks) — drawings, structural calcs, energy code compliance forms, then queue. Expect questions, expect revisions, expect a phone call asking for the same clarification twice.
3. Demo and structural rough-in (2–4 weeks) — opening the walls reveals the surprises, then the beam goes in, framing adjusts, and the rough inspections happen.
4. Systems rough-in (2–4 weeks) — plumbing, electrical, mechanical, each with its own inspection and its own inspector.
5. Inspections and drywall (2–3 weeks) — close the walls, tape and mud, prime.
6. Finish work (4–8 weeks) — cabinetry install, counters, tile, flooring, paint, trim, appliance set, final inspections.
Add the buffer for material lead times — custom cabinetry from a busy Seattle shop can run twelve to sixteen weeks from deposit to install — and a project that "should" take four months often takes seven. The homeowners who plan for seven months are calm. The homeowners who plan for four months are not.
Your pre-remodel scouting checklist
Before you sign a contract or pick a single tile, walk through your Craftsman with this list. It's the same kind of slow, observant walk you'd do on a new block before deciding to put down roots.
- Identify what's original and what's worth saving. Photograph every original detail before demo: fir trim, built-ins, boxed beams, picture rails, original doors, window stools, the apron sink if it survives.
- Confirm which walls are load-bearing. Hire a structural engineer before the designer finalizes the plan, not after. Beam sizing depends on layout; layout depends on the beam.
- Map every system. Find the main panel, the gas shutoff, the supply and drain lines, the range hood venting path. Older homes often have undersized panels and creative plumbing that won't survive a modern appliance load.
- Clarify the permit scope. Decide early whether the project stays under the $6,000 cosmetic threshold or crosses into structural, plumbing, electrical, and mechanical permits. Don't drift across the line mid-project.
- Set a realistic budget range. Plan for $150–$300 per square foot, with a fifteen to twenty percent contingency for what the walls reveal. Know which finish choices matter to the home's character and which can flex.
- Build the timeline around permits, not construction. Two to four months for permits is normal. Six to twelve weeks for active construction is normal. Anything faster is a fantasy or a corner being cut.
- Choose a contractor who reads old houses. Ask to see a completed Craftsman project, walk it, open the cabinets, look at the seam where new trim meets original. The detail work tells you everything.
A Craftsman kitchen remodel in Seattle is a long, layered project, but it's also the kind of project that pays you back every single morning. Done with respect for the structure and the original millwork, the kitchen you end up with feels like it always belonged there — like a neighborhood that, once you learn its topography, you can't imagine living anywhere else.